Delphi Tip: Replacing the flow meter step by step
After determining the need to replace the airflow meter, follow these steps to remove the defective air flow meter assembly.
Check the condition of the flow meter housing for cracks in the plastic material. If cracks are found, replace the entire component – not the sensor itself.
If the housing has no cracks – follow the detailed instructions for replacing the airflow meter. After replacing the sensor, install the complete flow meter assembly in the car.
- Using a wrench with the appropriate socket, loosen the air inlet mounting screws. Gently loosen the clamp and disconnect the rubber tube connected to the inlet of the air filter assembly containing the flow meter.

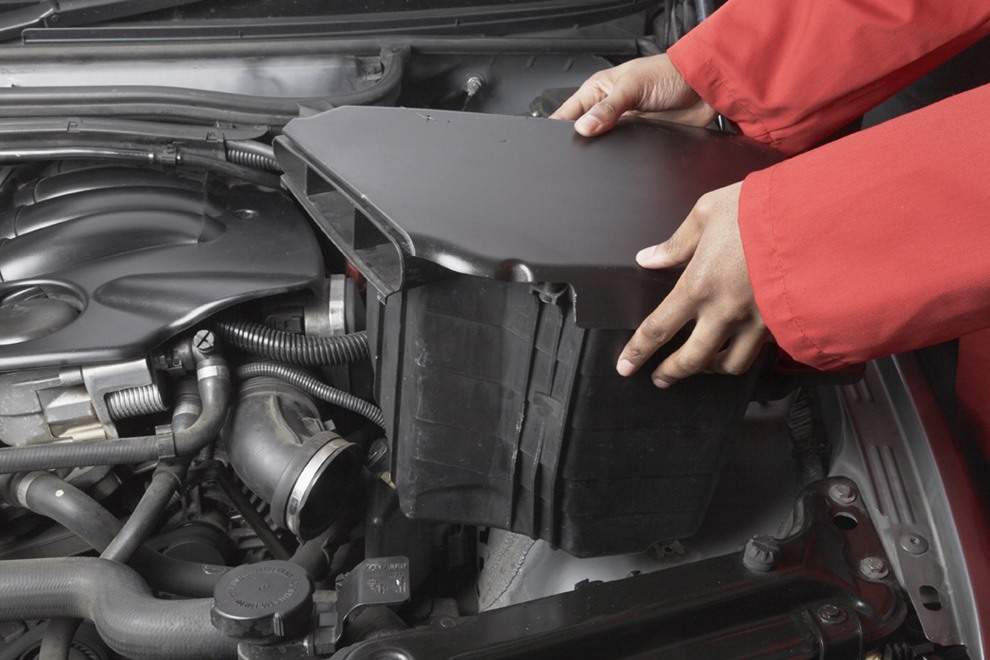
- Carefully remove the air filter assembly and place it on a clean work surface.
- Using a wrench with the appropriate socket, remove the flow meter assembly from the air filter assembly.

- Place the flowmeter assembly on a clean work surface with the sensor connector facing up. Then, using a suitable Torx bit with a hole, remove all screws.

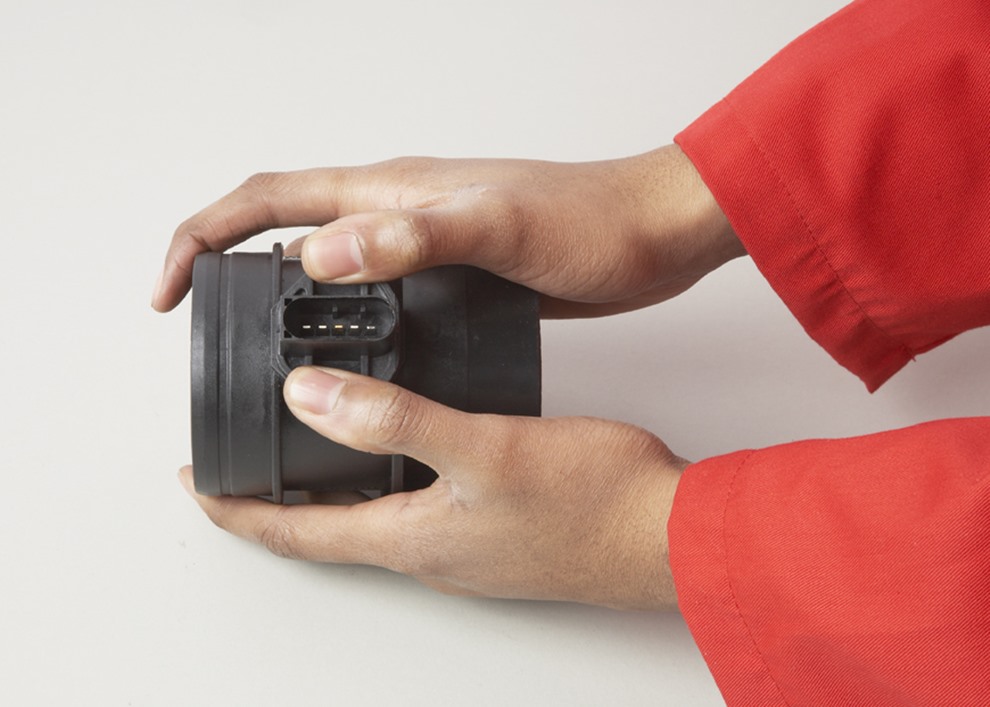
- Remove the defective sensor from the assembly by holding the flow tube with one hand and the sensor connector with the other hand. Gently pull the sensor out of the flow tube until the sensor is fully removed.
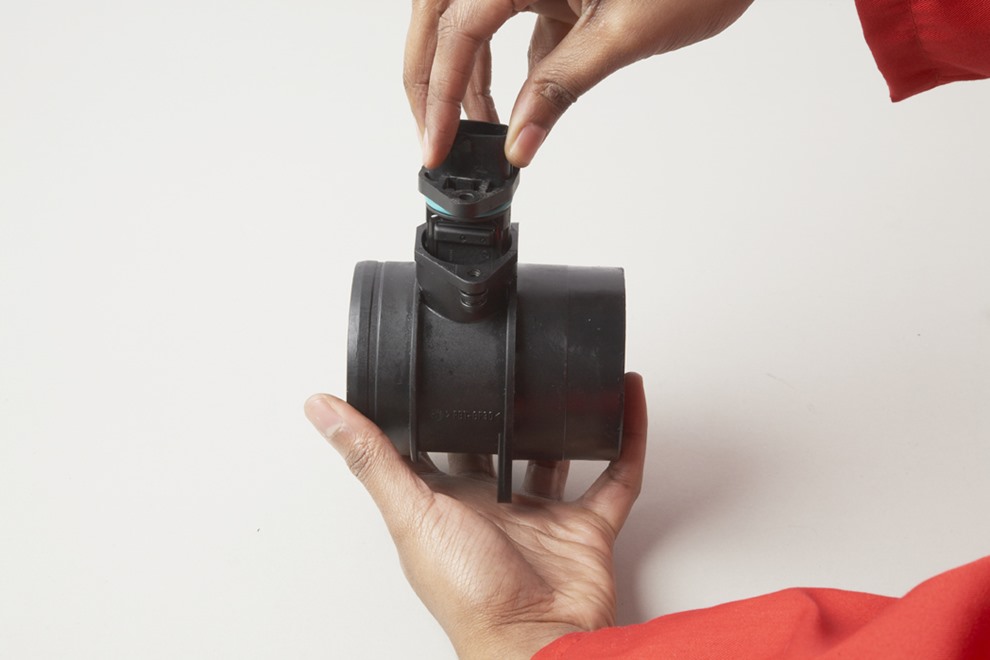
- Open the package with the new sensor. Carry the sensor by holding the connector only (DO NOT touch the electronic part, as this could damage the sensor). Insert the new sensor into the flow tube.

- While holding the flow tube with two hands, use your thumbs to push the sensor into the tube.
RELATED POST